Keyword: “Tower”
Sites & Sections1
Photos100
 A Round Chamber Inscription
 Aqueduct 4
 Aqueduct Overview
 Aqueduct of Gier Header Tank
 Bell Tower
 Bell Tower 1
 Bell Tower 2
 Bell Towers
 Bell Towers
 Cilty Wall 2
 City Wall
 City Wall - Towers
 City of David Diagram
 Clock–Tower
 Dormition Abbey
 Dormition Abbey Tower
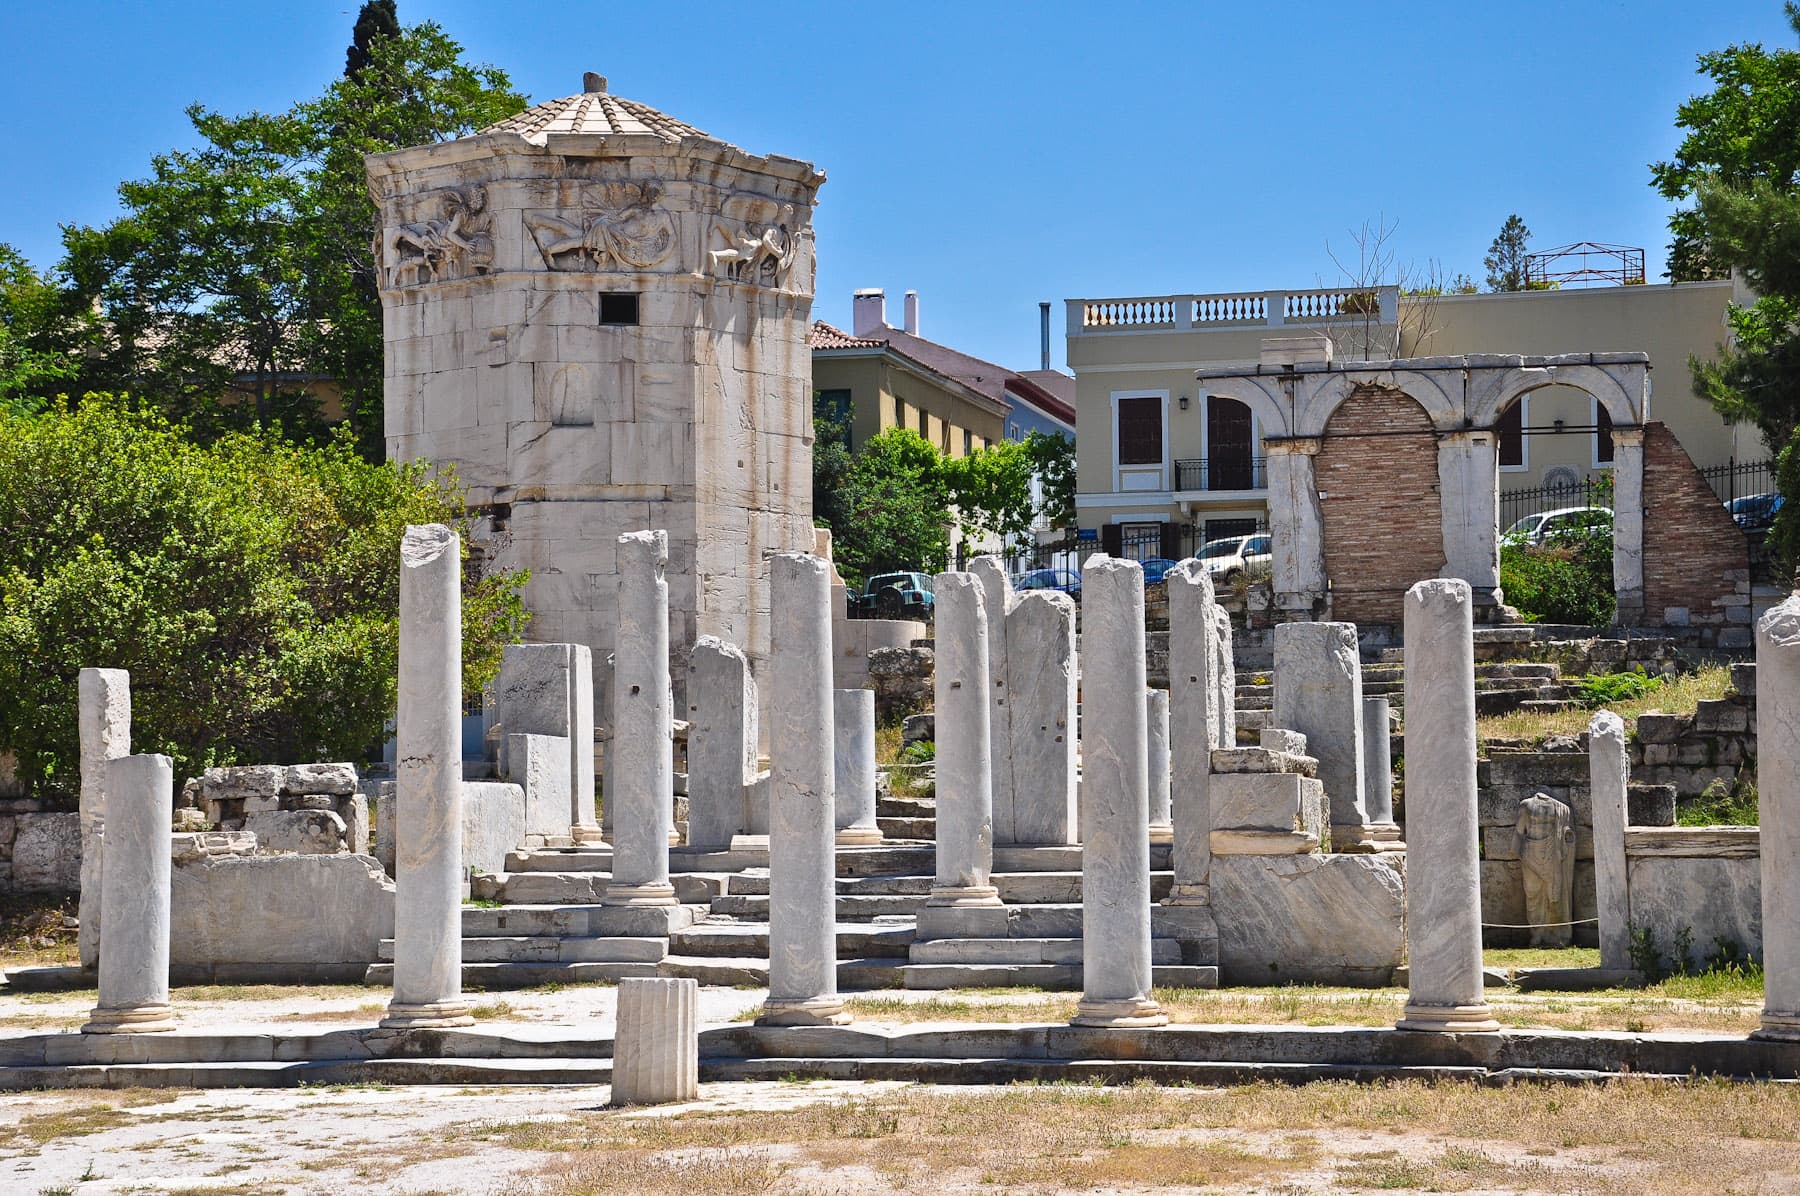 Eastern Entrance 1
 Eastern Entrance 2
 Eastern Palace Basement 1
 Eastern Palace Basement 2
 Eastern Tower Interior
 Eastern Tower and Storage Rooms
 Entrance Detail 2
 Entrance Passageway 1
 Entrance to Acropolis
 Entrance to Passageway
 Entrance to Western Harbor
 Fort/Tower
 Fortification Tower
 Fortification Wall
 Fortifications
 Forum
Forum Forum Tower
 Gate Tower 1
 Gate Tower 2
 Gate Tower 2 Detail
 Gate of the Citadel
 Hellenistic City Gate 2
 Hellenistic City Gate Reconstructed
 Hellenistic Defensive Tower
 Hellenistic Gate 1
 Hellenistic Gate Interior 2
 Hellenistic Gate Interior 5
 Hellenistic Gate Tower Entrance
 Hellenistic Gate Tower Interior
 Hellenistic Tower
 Hellenistic Tower 1
 Hellenistic Towers
 Hellenistic and Taurus Mountains
 Herodian Towers & Second Wall
 Herod’s Palace and Towers 1
 Herod’s Palace and Towers 2
 Hill Top Farm
 Interior Garden
 Interior Garden 2
 Interior Staircase
 Junction of Walls
 Leander’s Tower
 Lyon
Lyon Medieval Tower
 Middle Bronze Area
 Neolithic Tower 1
 Neolithic Tower 2
 Overview
 Passageway Exit Exteror
 Passageway Exit Interior
 Pool Tower 1
 Pool Tower 2
 Pool Tower 3
 Pool Tower Rock Scarp
 Pressure Tower
 Qawra Point Detail
 Qawra Point on Salina Bay
 Rock Scarp
 Roman Fort 1
 Roman Fort Staircase
 Roman Forum Diagram
 Semi–Circular Tower
 Side Staircase
 South Side of Church
 South Square
 Spring Tower
 The Passageway and Aqueduct
 The Pool
 The Round Chamber
 Tower
Tower Tower (MB II Period)
 Tower Cranes
 Tower Entrance
 Tower Exterior 1
 Tower Exterior 2
 Tower Interior
 Tower of Psephinus
 Tower of Siloam?
 Tower of the Winds (2)
 Tower of the Winds (3)
 Tower of the Winds (4)
 Tower of the Winds 1
 Tower of the Winds 6
 View
View